How to Create Product Photos with AI (Step-by-Step Guide for Beginners)
Learn how to create product photos with AI step by step. Beginner-friendly guide to AI product photography, backgrounds, prompts, and ecommerce images.


Most AI product photos don’t fail because of bad tools. They fail because of bad inputs.
You’ll see people blame AI for “weird results,” but if you look closely, it’s usually:
- a low-quality product image
- a vague prompt
- or no clear idea of what the final photo should look like
AI isn’t a magic button. It’s more like a fast, slightly literal assistant.
It gives you exactly what you ask for, and sometimes, exactly what you didn’t mean to ask for.
Once you understand that, instead of hoping for a good result, you start controlling the output:
- cleaner images
- sharper backgrounds
- more realistic lighting
- better conversions for your product pages
In this guide, I’ll walk you through a simple, repeatable workflow to create product photos with AI, from raw image to finished visual, without needing a studio or design experience.
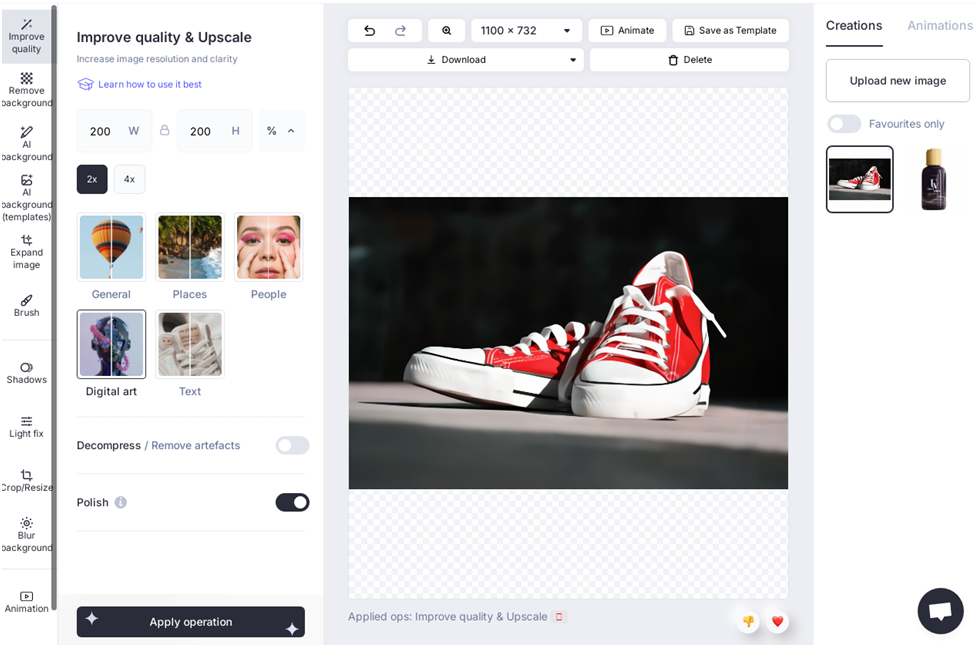
Step 1: Start with a Clean Product Image
AI works best when your input image is simple and clear.
Ideally:
- Plain background
- Good lighting
- High resolution
- Product fully visible
If your base image is messy, AI will amplify the problems.
👉 Tools like CLAID.AI are great for cleaning up your product image first: removing backgrounds, fixing lighting, and improving quality before you generate anything new.
Step 2: Remove or Replace the Background
This is where AI product photography really starts.
Instead of shooting in a studio, you can:
- Remove the background
- Replace it with a lifestyle scene
- Generate a completely new environment
For example:
- A perfume bottle → luxury marble setup
- A coffee mug → cozy café scene
- A skincare product → minimal, clean aesthetic
👉 CLAID.AI and Phot.AI both let you generate AI backgrounds or swap them in seconds.
Step 3: Generate a Scene Using Prompts
This is where most beginners go wrong.
They write vague prompts like: “nice product photo” and expect magic.
Instead, be specific. Let's take an example -
Bad prompt:
A product on a table
Better prompt:
A minimal beige skincare bottle placed on a marble countertop, soft natural lighting, shadows, luxury aesthetic, high-end product photography
The more detail you give, the better your results.
👉 Tools like Freepik AI and Dezgo are great for generating product scenes from prompts and experimenting with different styles.
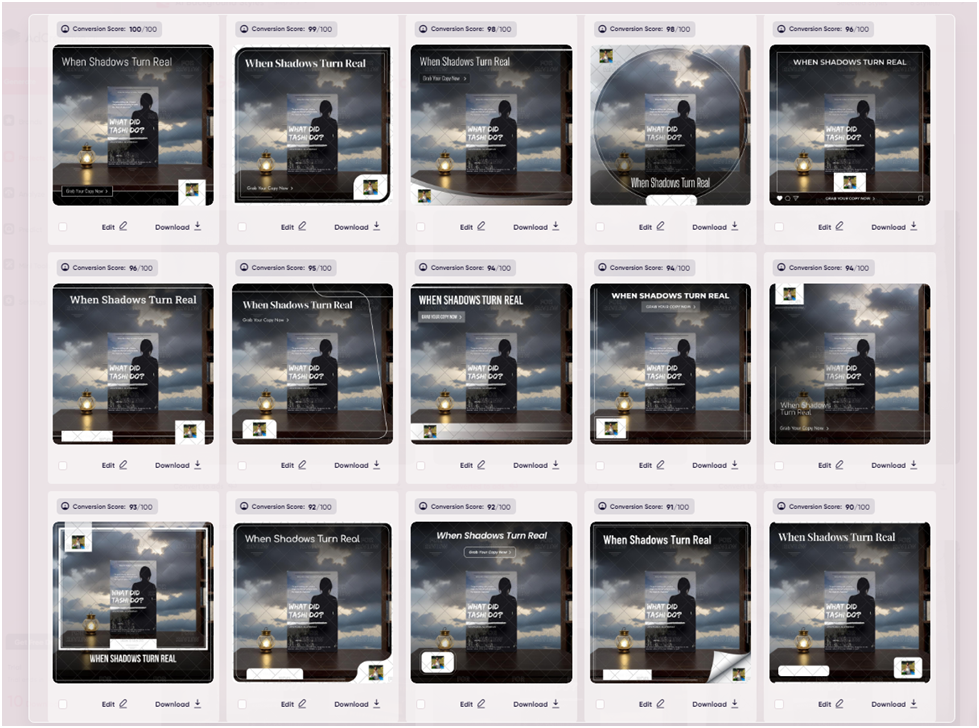
Step 4: Create Variations for Different Use Cases
Don’t stop at one image. With AI, your advantage is volume.
Create multiple versions:
- White background (for Amazon)
- Lifestyle scene (for website)
- Bold creative (for ads)
- Close-ups (for product pages)
👉 AdCreative.ai is especially useful here: it can turn one product into multiple ad creatives with different styles and formats.
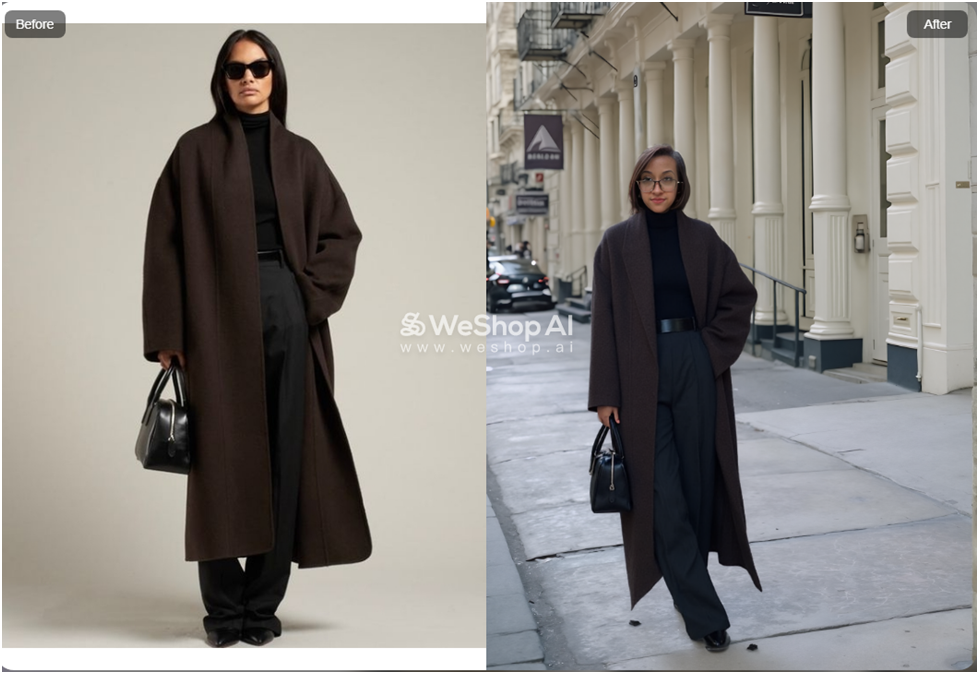
Step 5: (Optional) Add AI Models for Fashion Products
If you sell clothing, accessories, or wearable products, this step is powerful.
Instead of hiring models, you can:
- Place your product on AI-generated models
- Test different body types and styles
- Create lifestyle shots instantly
👉 WeShop AI is designed for this: letting you generate product photos with AI models in different environments.
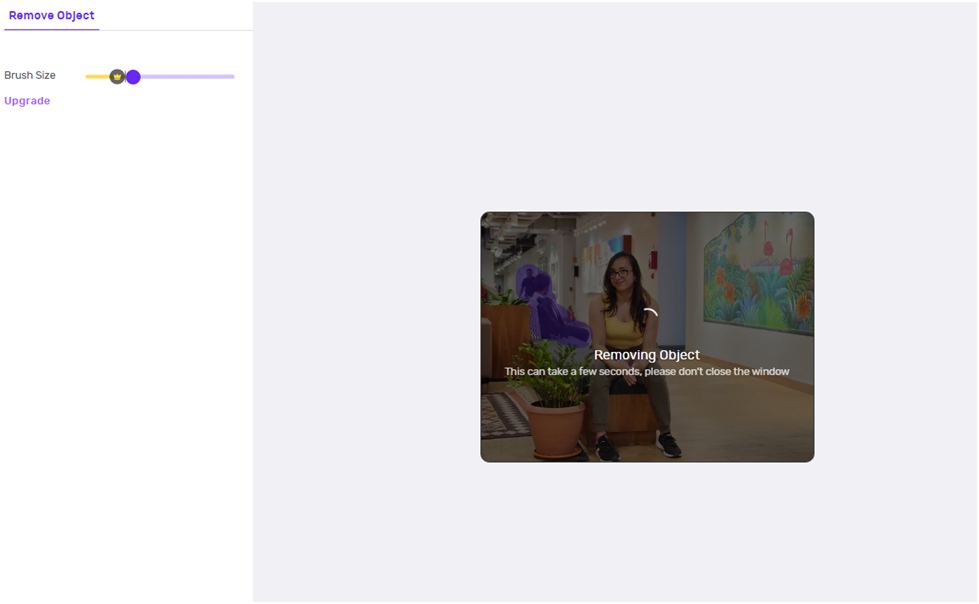
Step 6: Fix Imperfections Manually
AI is fast, but not perfect.
Common issues:
- Weird hands or proportions
- Unrealistic shadows
- Distorted product edges
Use tools like:
- Magic eraser
- Object removal
- Minor retouching
👉 Tools like Phot.AI help clean up these imperfections quickly.
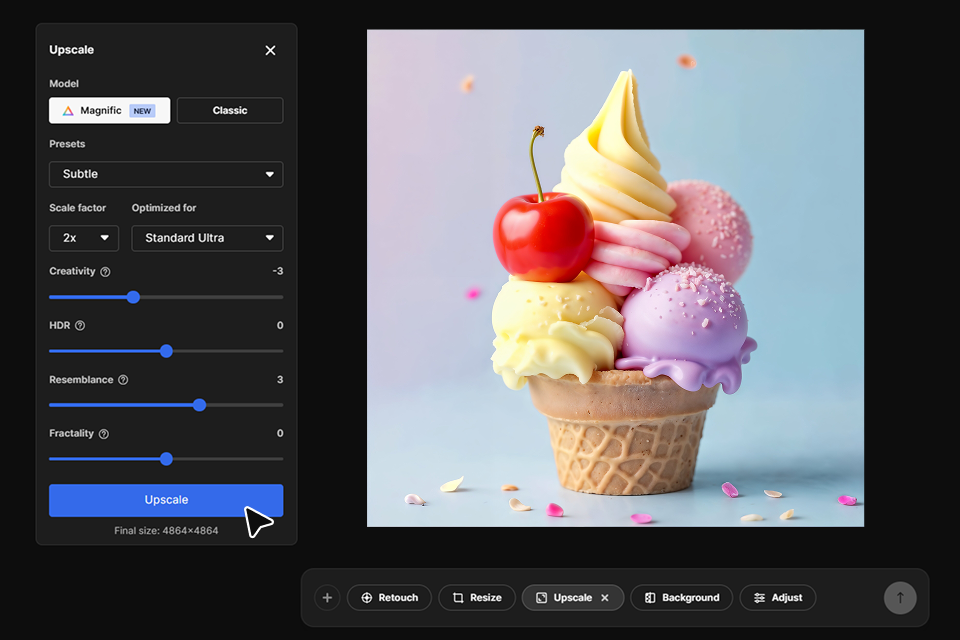
Step 7: Export in the Right Format for Your Platform
Different platforms require different formats:
- Amazon: white background, clean product
- Shopify: lifestyle + branding
- Instagram ads: bold, scroll-stopping visuals
- Website banners: high-resolution, wide format
Make sure you resize and export accordingly.
Common Mistakes Beginners Make
- Using low-quality input images
- Writing vague prompts
- Expecting perfect results in one try
- Not editing AI outputs
- Using the same image everywhere
AI works best when you iterate, not when you expect perfection instantly.
Final Thoughts
AI product photography isn’t about replacing photographers. It’s about removing friction.
You don’t need a studio to get started anymore, or a big budget to test ideas. You just need:
- A decent product image
- The right prompt
- A bit of iteration
Tools like CLAID.AI, Freepik AI, AdCreative.ai, and WeShop AI make it possible to go from a basic product shot to a full visual campaign in minutes.
Once you get the workflow right, it’s hard to go back.
Affiliate Disclosure: This article contains affiliate links. If you purchase through them, I may earn a small commission at no extra cost to you.